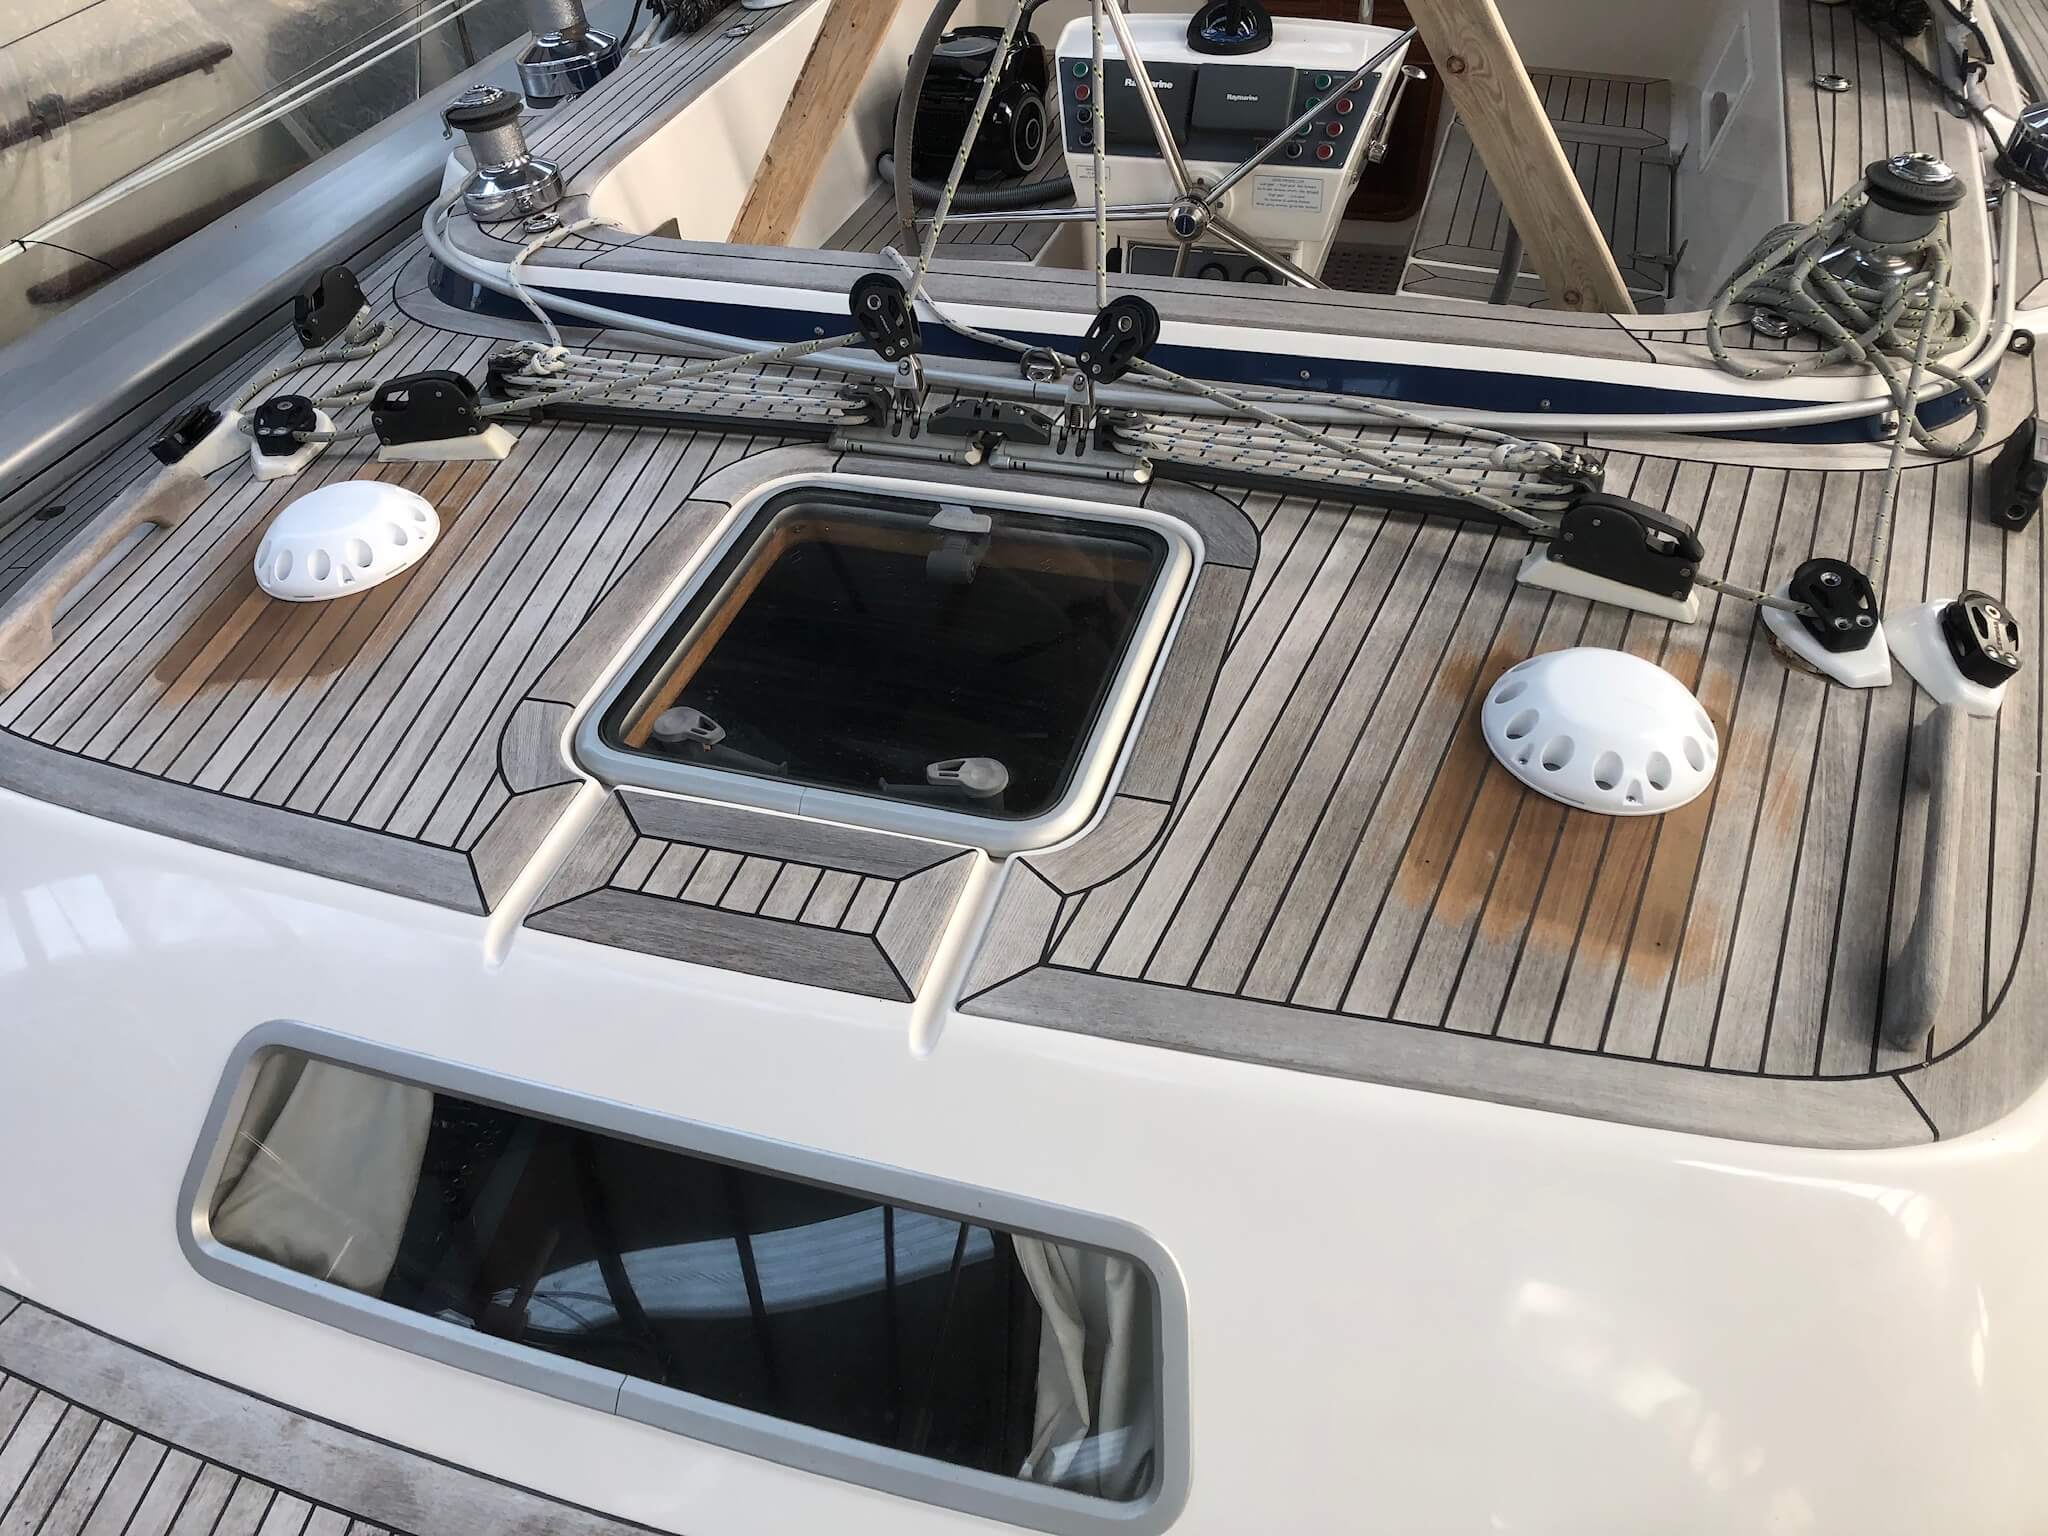
In the winter of 2018/2019, Toine in particular will be spending quite a few weekends doing jobs on the SeaQuest. One of the most eye-catching jobs is replacing the old yellowed wind-happers with the new ventilation grids that Rassy has been installing on its new boats for some time now.
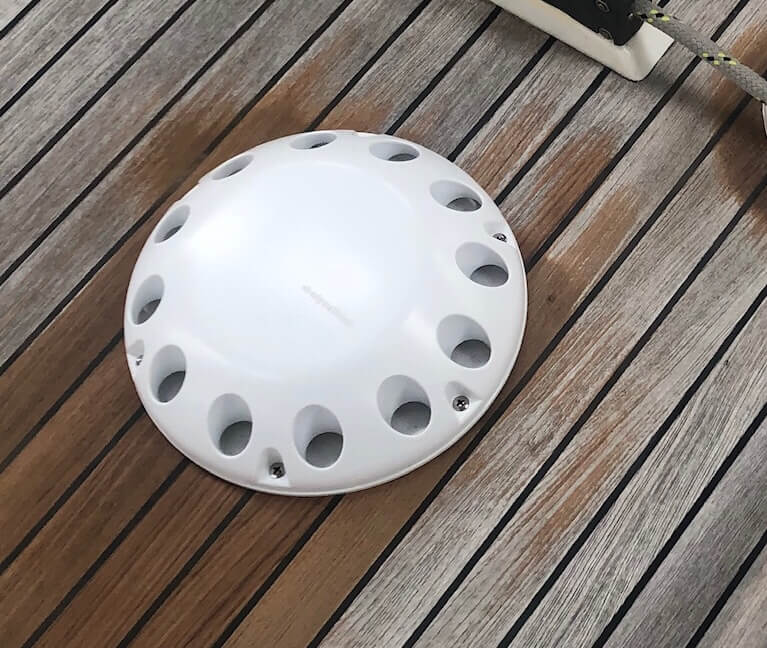
That looks a bit different. Is it getting used to? It's not that bad. There are a lot of advantages to these new ventilation grids. Like:
- Automatically fully watertight due to the 'balls' system (instead of removing the wind-hopper and putting a cap on it in bad weather).
- Wind can get in from all sides (instead of just the side the wind hopper is on).
- Better regulate the amount of ventilation (with the old wind-happers, a sock is needed regularly to close the air gap on cold days against too much cold air).
- Less a hoist on deck where a line can get caught behind.
Probably the only downside is that in warm areas it gives little ventilation. Less than putting the old windhappers in the wind. After a few months of experience we know that this is not the case, rather the opposite is the case. However, it is still possible to place a motor on the ventilation grille for more ventilation. But we don't expect that this will be necessary.
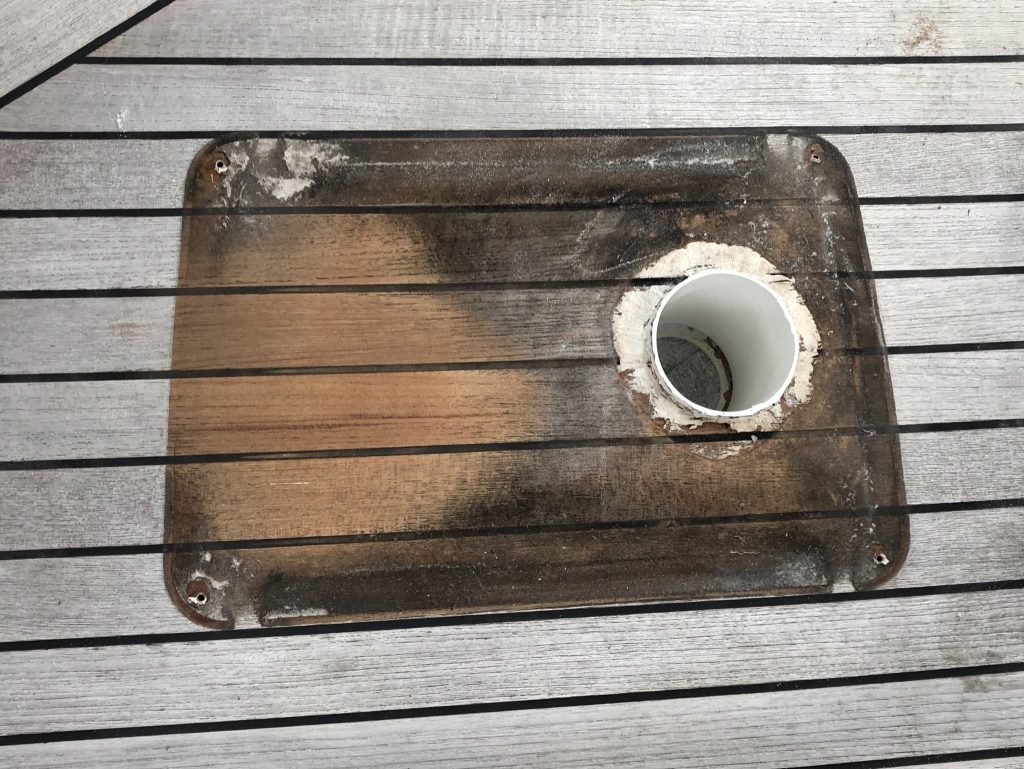
How did we replace them? After careful thought and a little trial, that led to the next work plan:
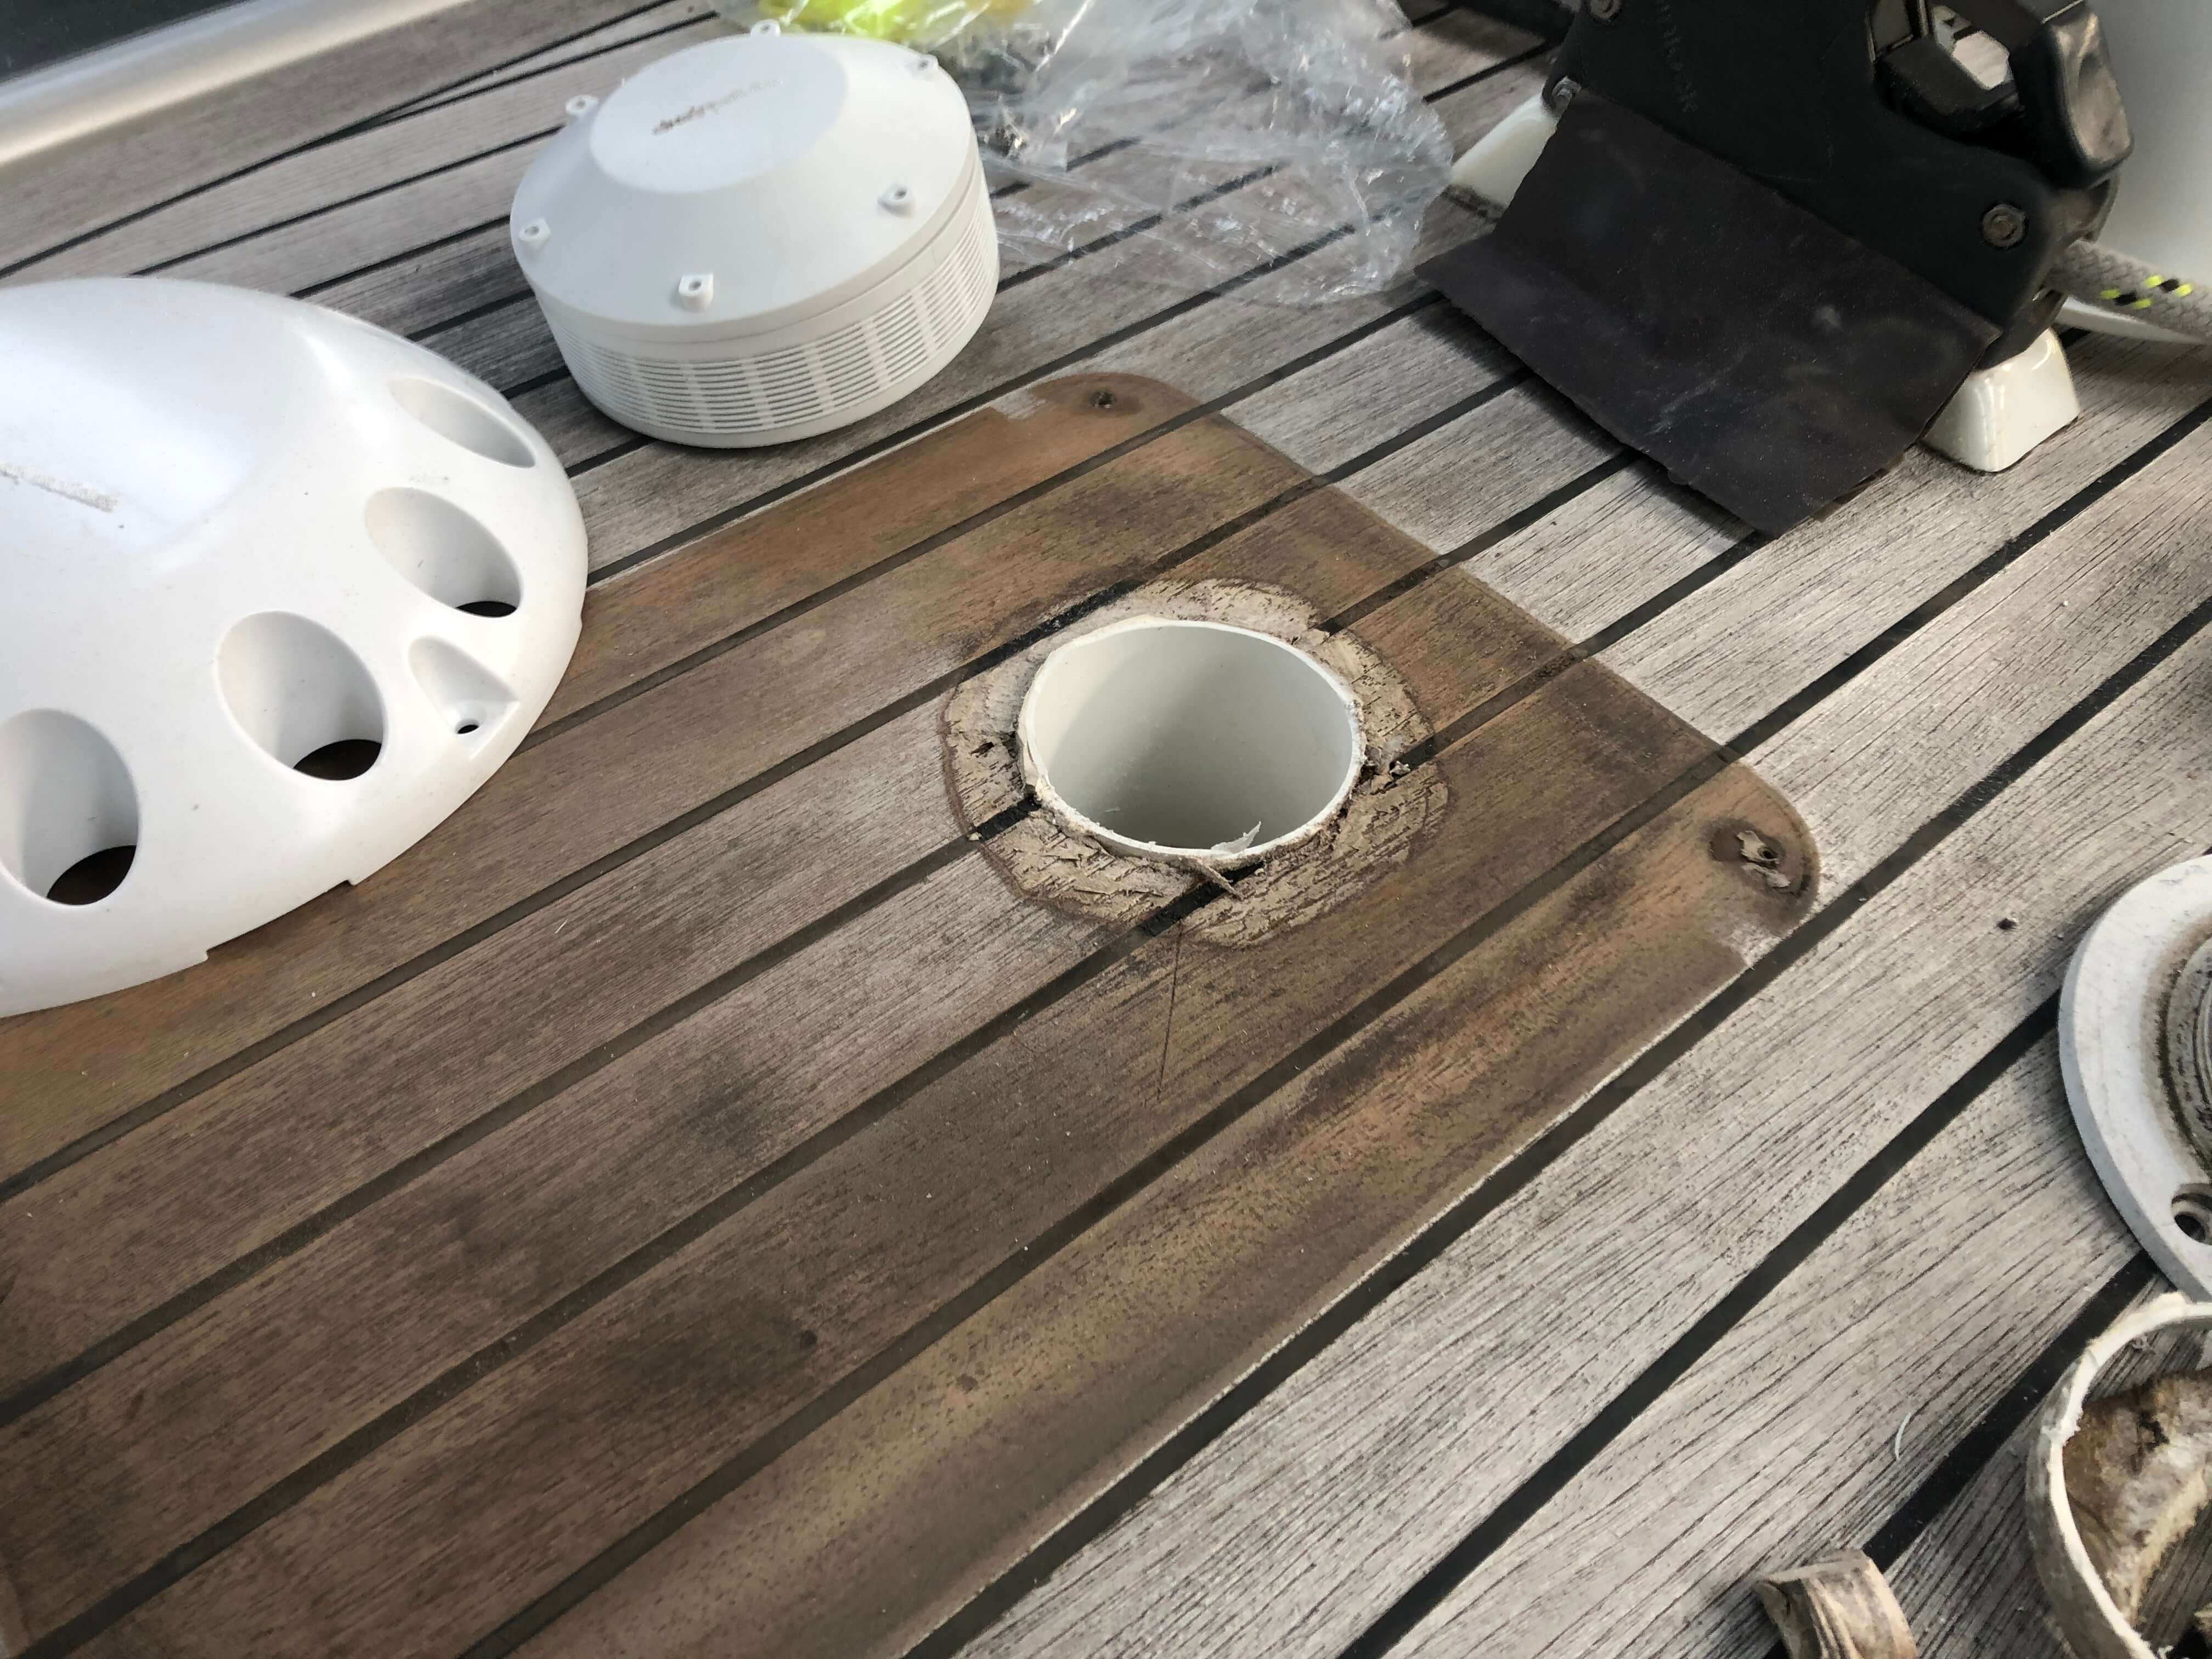
- Remove the old happers from the outside and leave the tube inside.
- Cutting the pipe inward at a centimetre height above the deck.
- Sanding the teak deck if this is uneven because our teak deck has already been sanded once around the old happers.
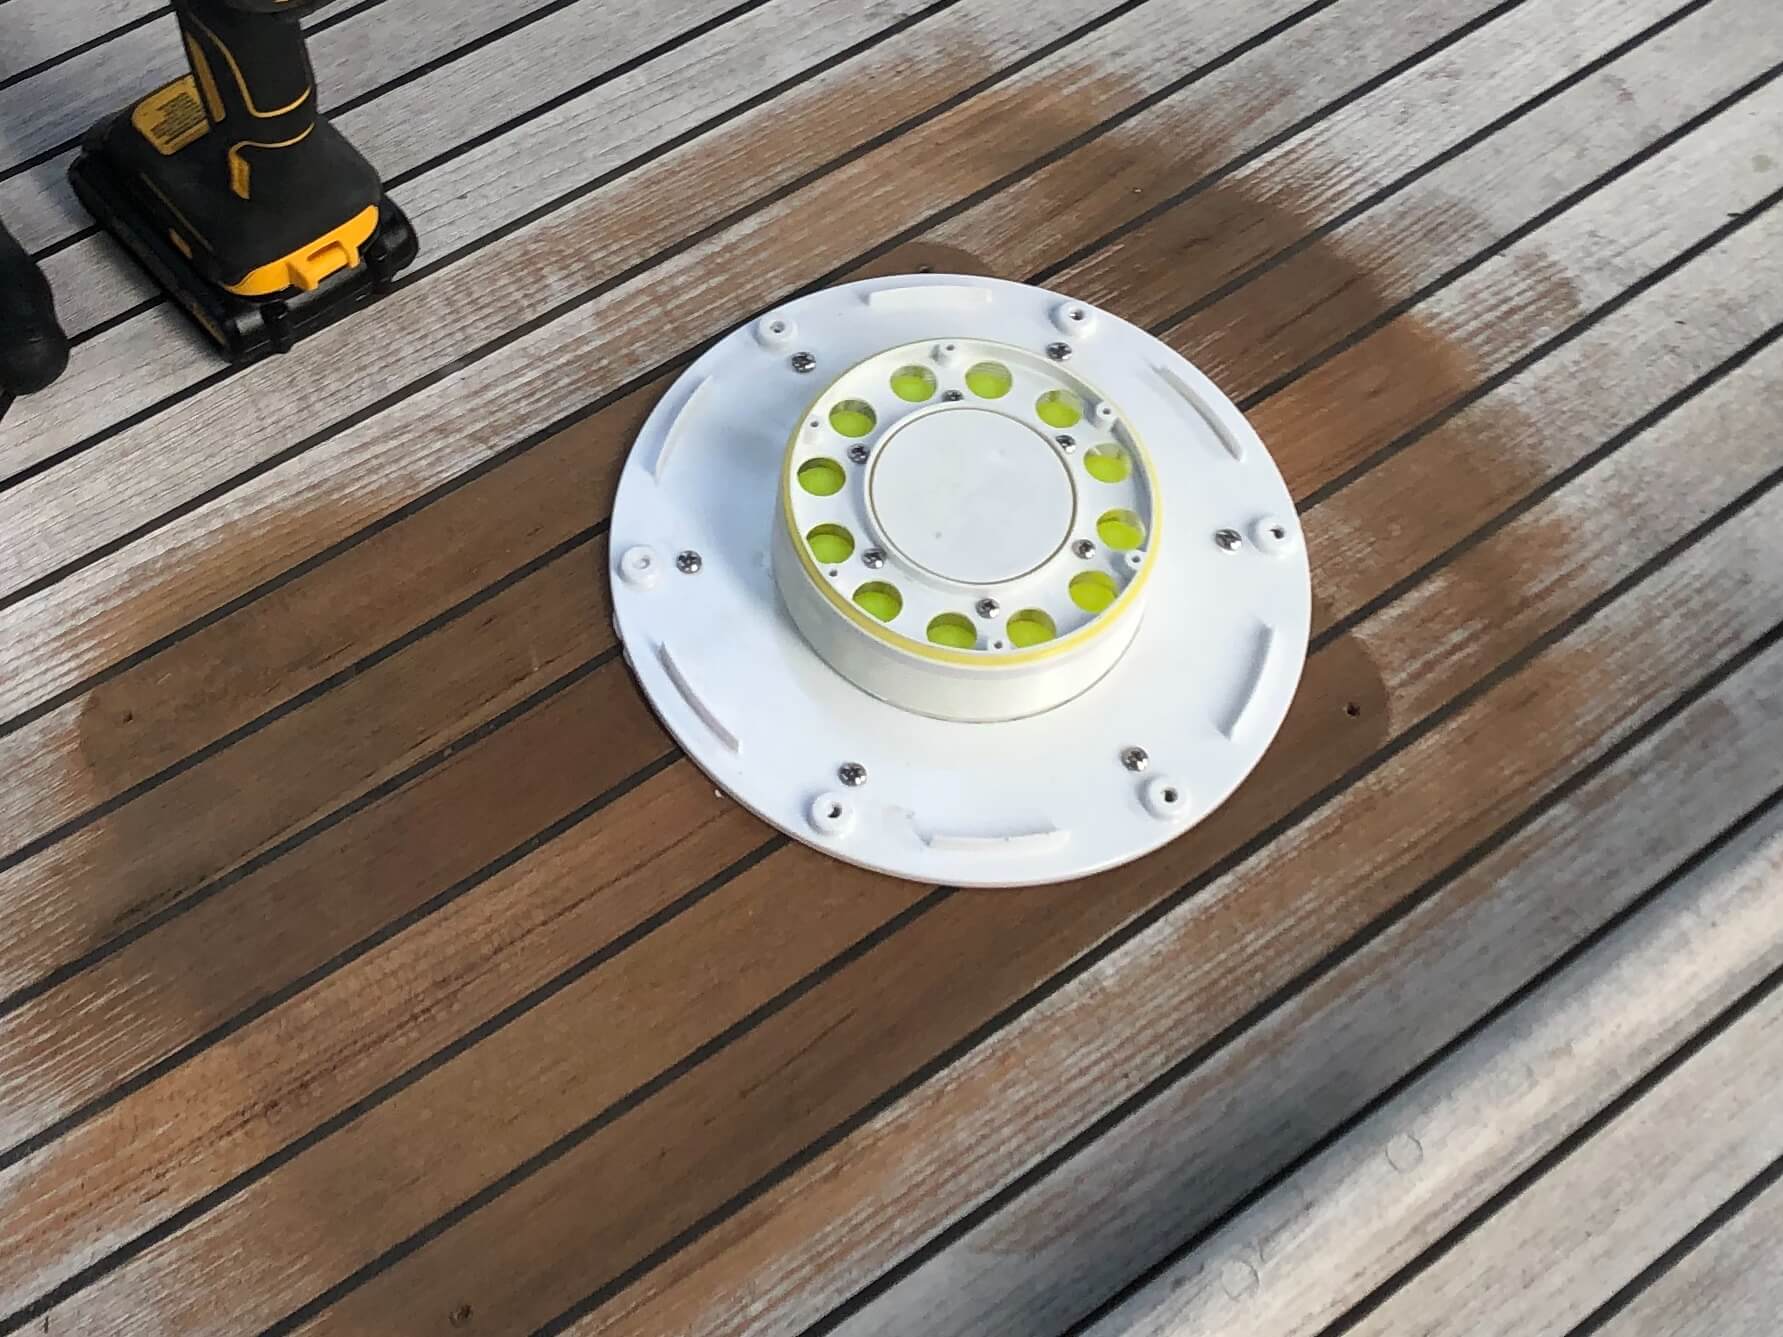
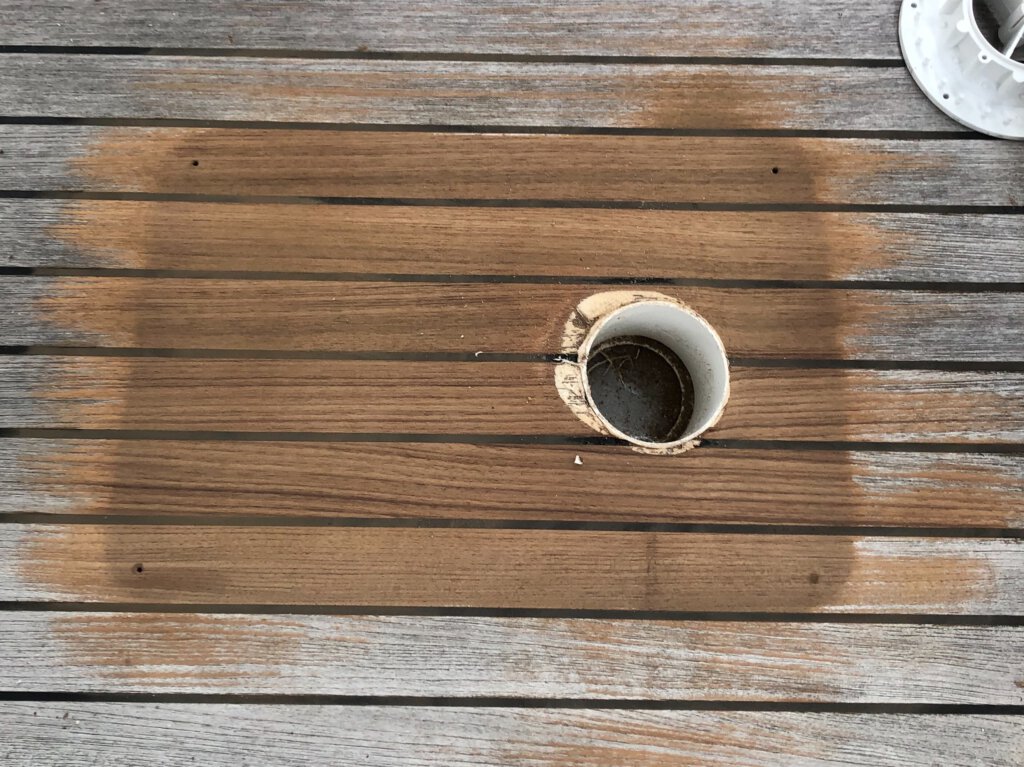
- Cutting an edge off the new grids.
- Make small notches in the cake tip grid of the new grid so that it fits exactly on the old inner tube.
- Secure with waterproof sealant.
It still looks a bit weird because of the difference in colour of the teak, but that will disappear after a few months.